To that end, I bought a few bits of PVC and all-thread from the hardware store, and ordered a piece of 1/2" clear acrylic.
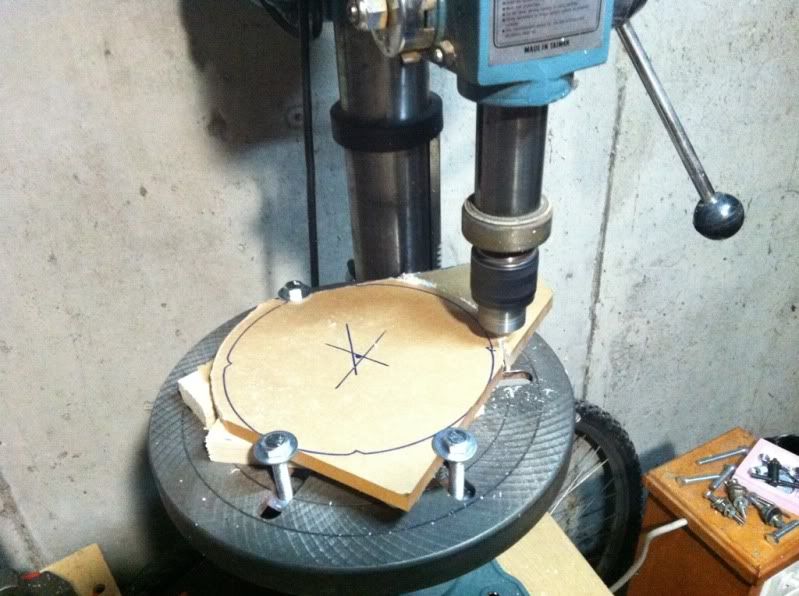
I'm a big fan of using the right tool for the job, but sometimes you don't have it, and the job still needs to get done. In order to get things mounted up correctly, I wanted to mill out a few of the PVC pieces and the acrylic sheet. I don't have access to a milling machine, but if your tolerances are fairly loose, and your materials fairly soft, you can get by with a little creative use of a drill press and some end mills. Note: this is also bad for your drill press's bearings. They don't like side-loads.
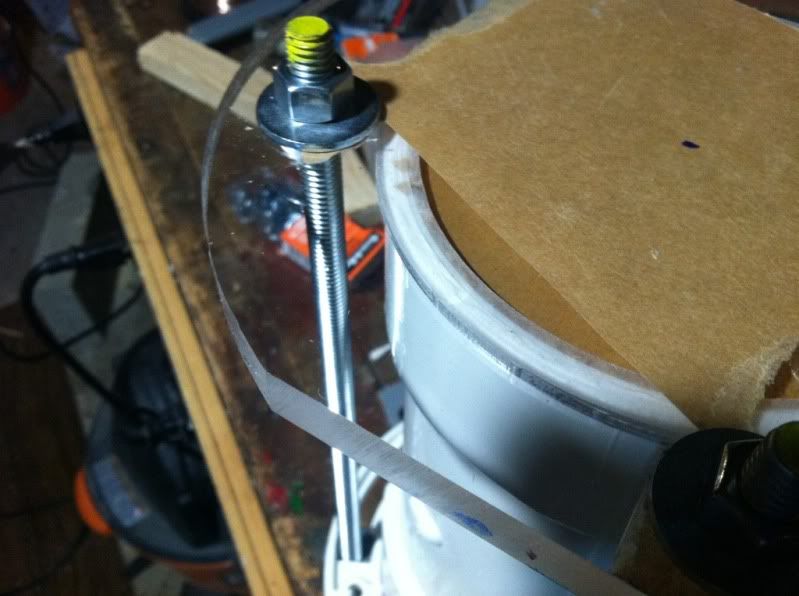
Here I am milling the acrylic to shape, and cutting a groove for an o-ring to seal it (the acrylic sheet is an odd "circle with pieces missing" shape because I wanted to get 2 approximately 7" circles out of one 12" square piece of acrylic, in case I screw one up):
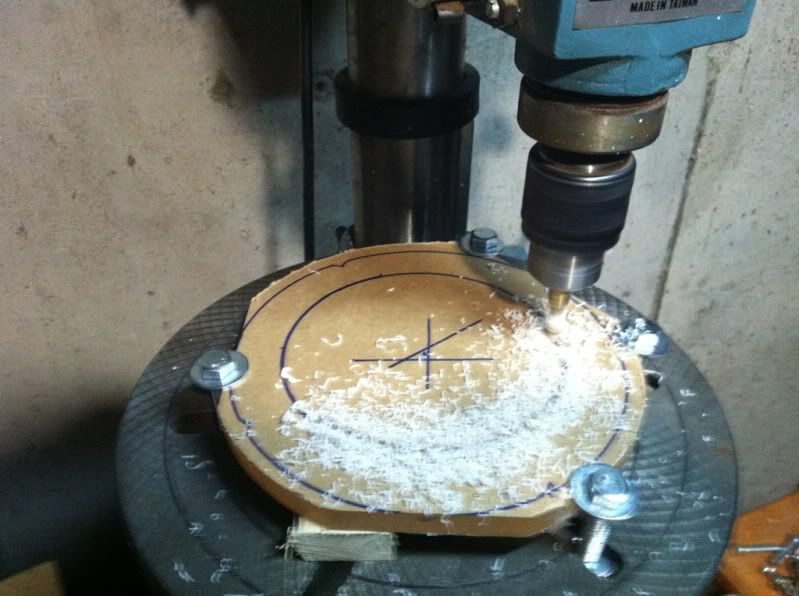
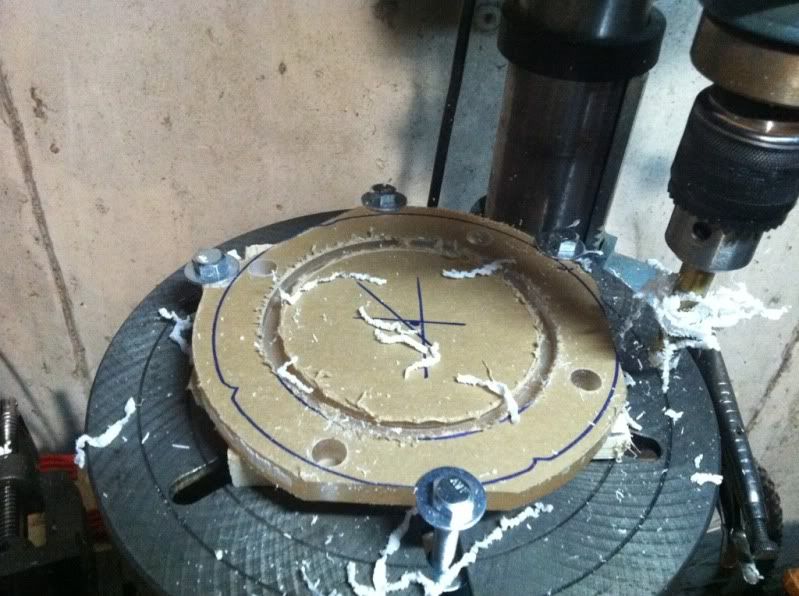
and here I'm drilling the holes for the all-thread:
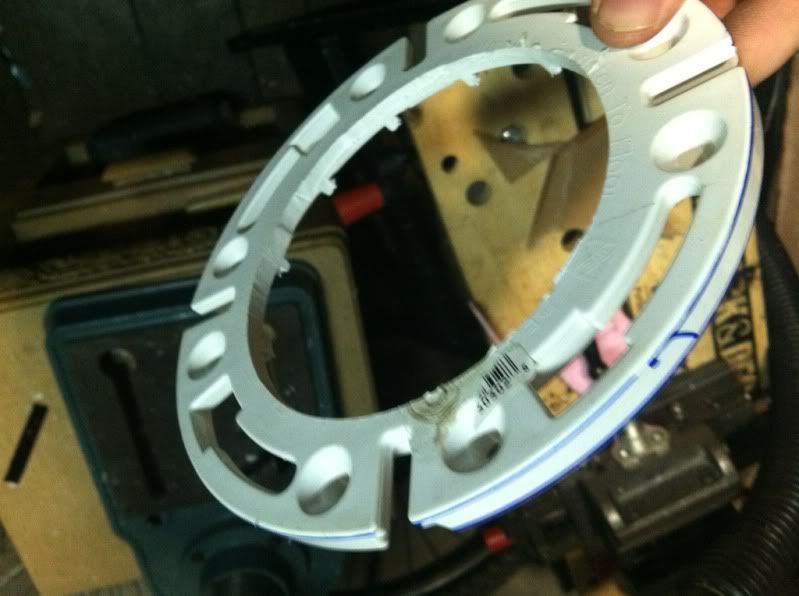
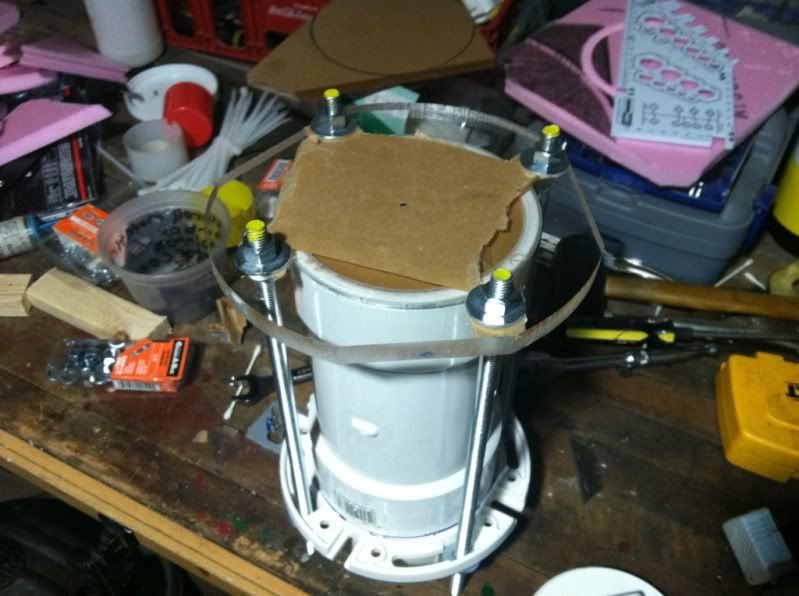
Here is a toilet drain fitting I cut the middle out of to make a support ring for the other end of the all-thread:
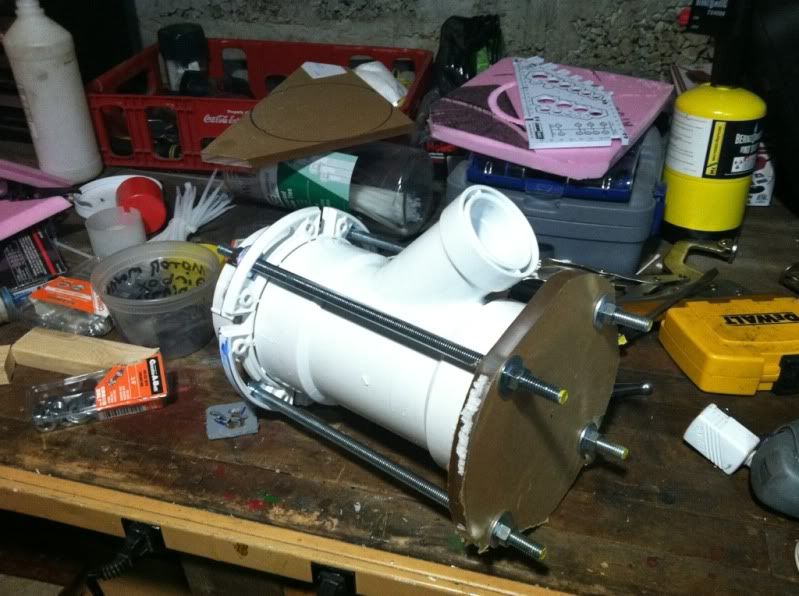
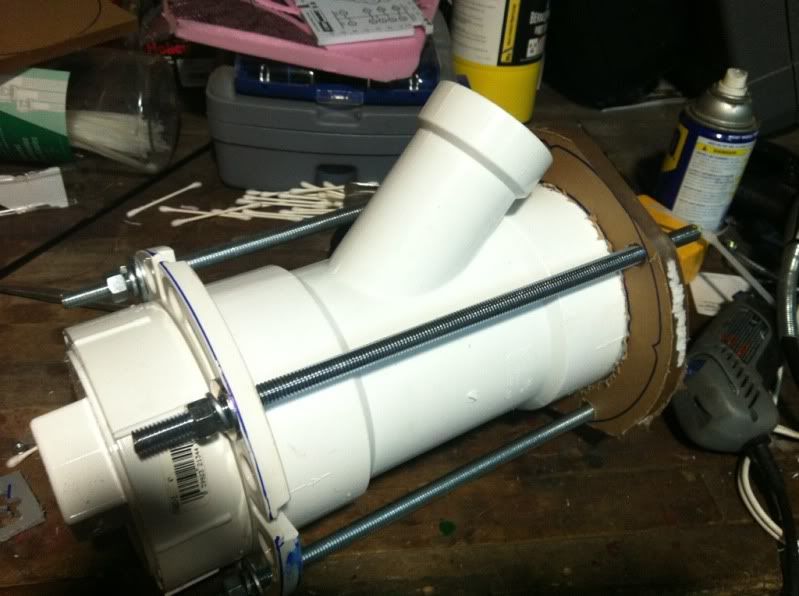
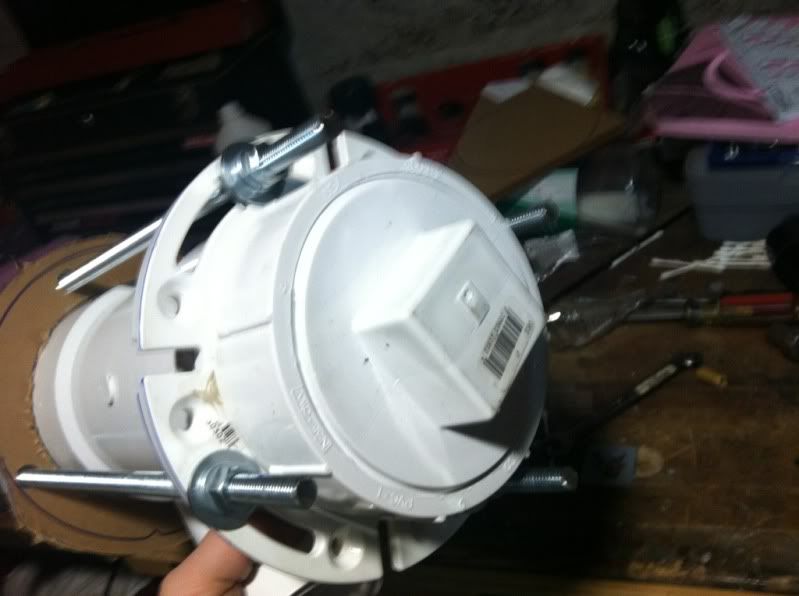
and here are a couple shots of what the enclosure looks like at this point. The back is threaded, but I may end up gluing it shut if the threads are too leaky. The 3rd opening (on the top) is for the tether, I have to think a bit about how I want to proceed on that. (also, the whole thing is put together backwards in these pictures, when it's glued up the tether port will point towards the back instead of the front). You can also see the extra piece of acrylic and some foam with test-cuts in it in the background. I find insulation foam to be a good material to practice and test milling ideas on, because it cuts fast, doesn't put much wear on my end mills, and doesn't put heavy side-loads on the drill press.
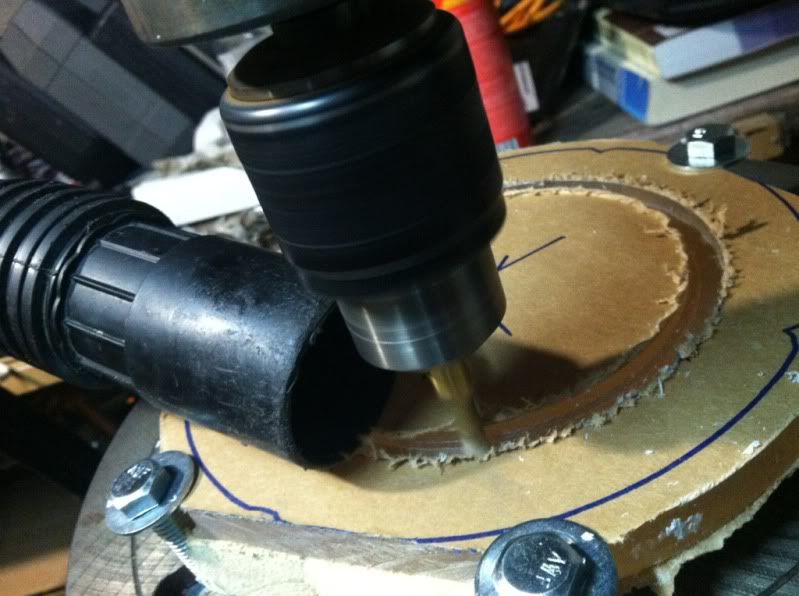
and here's a closeup of the groove for the big o-ring:
The next steps are to put the camera in there, figure out how to seal up the tether entry, and do some depth testing!
No comments:
Post a Comment