This year I am between jobs at christmas, and both my fiancee Sibyl and I have pretty big families whom we really like and want to get gifts for. Since I am out of work, I have a lot of time on my hands. So, we decided that we should find a gift we could make, something that could be a bigger time investment if the tradeoff was a lower cost. Since I'm sure people who received these will be reading this, I won't divulge what the ACTUAL materials cost was, but suffice to say we could pull it off. The idea started off as something I had been kicking around for a while. I know that a lot of Sibyl's relatives like wind chimes, and particularly rusty steel ones. I had seen a few triangular ones that I discovered are called "buoy bell" wind chimes, like this:
Link 1
Link 2
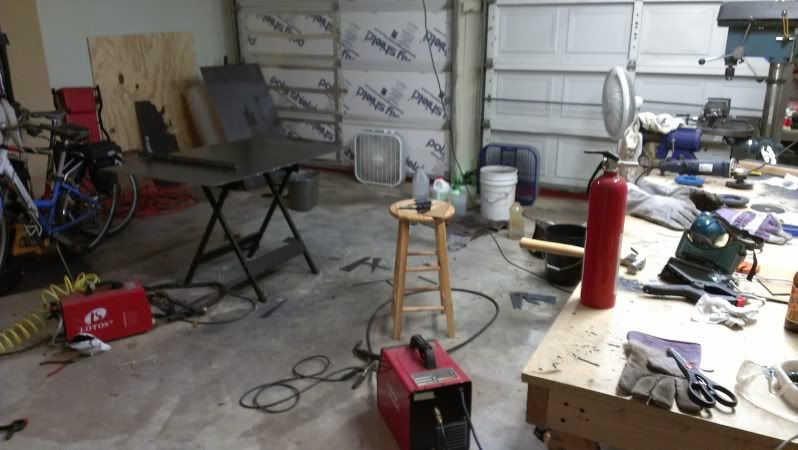
I like metalwork projects, and this seemed like a great chance to get the welder and plasma cutter out and do something fun. I lucked into a 4x8 sheet of 10 gauge steel on craigslist for pretty cheap, and the only other things we had to buy were paint for the dingly bits (from a local hobby store), rings, some thin chain, and some flat black and clear spraypaint from home depot. This is our garage workshop where we did most of the work (it's nice to be able to open up the garage doors for ventilation when doing this kind of thing):
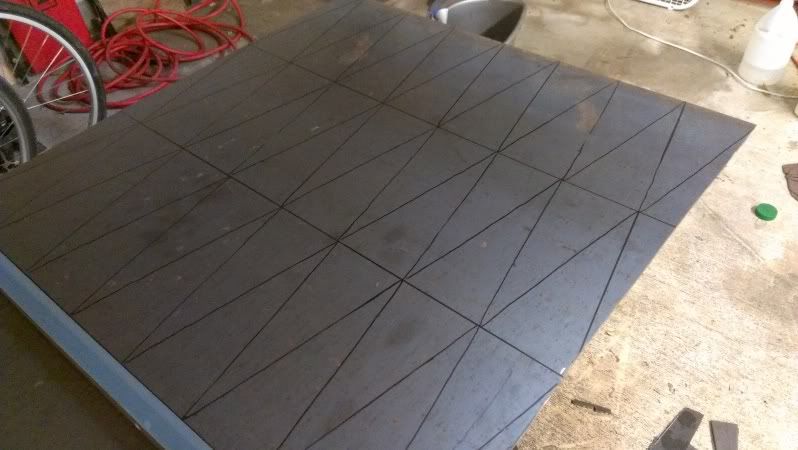
First we mocked up one bell in cardboard and made sure we liked the proportions. Then we laid out all the triangles on the the steel:
Next we cut the triangles out with my plasma cutter. Here's a pic and video of Sibyl using the plasma cutter (yes, we usually wear better eye protection than what's in the video, but that tool also doesn't emit nearly as much dangerous light as the welder does):
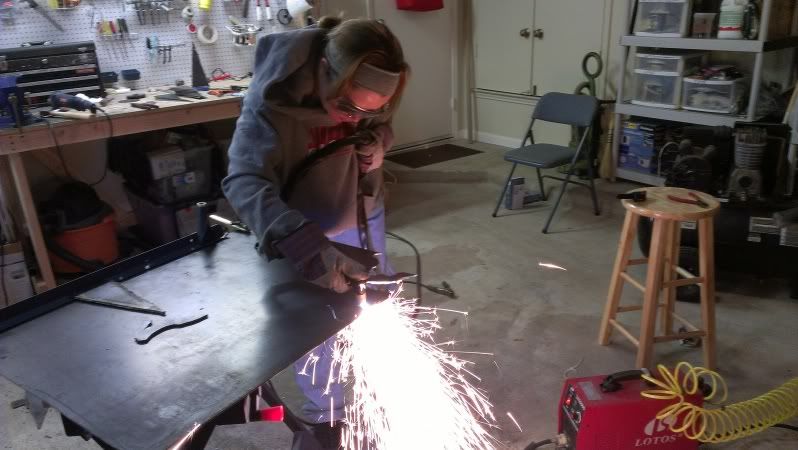
Plasma Cutter Video
Once we got all the pieces cut out, we welded the triangles together. Here's Sibyl working on that step:
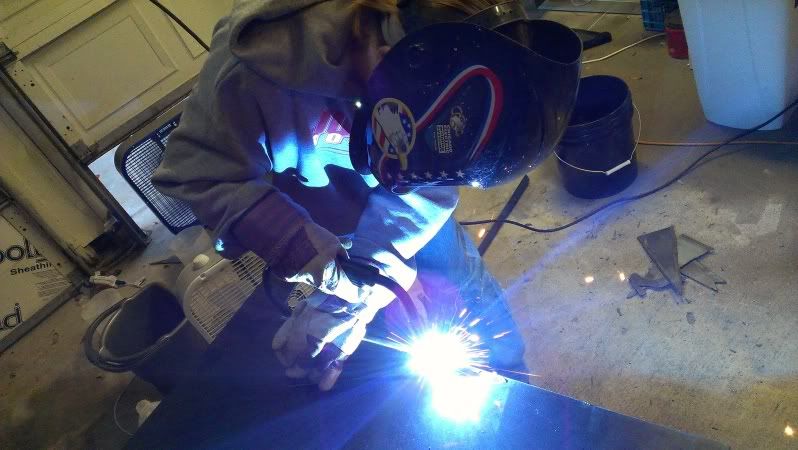
Welding Video
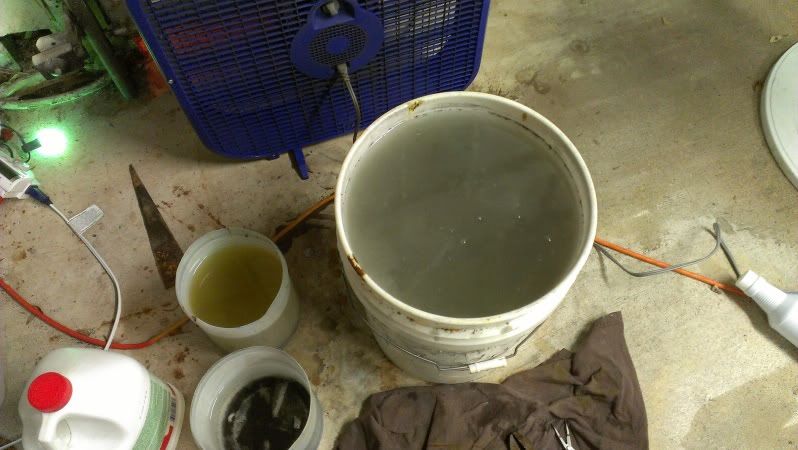
The next step was to cut a bit of chain, hammer on a "hammer", the part that hits the sides to make the sound, and weld the chain and ring to the apex of the bell. After that, they all got an overnight bath in dilute muriatic acid, to remove the anti corrosive coating and to etch the metal so that over time it will rust to a nice patina:
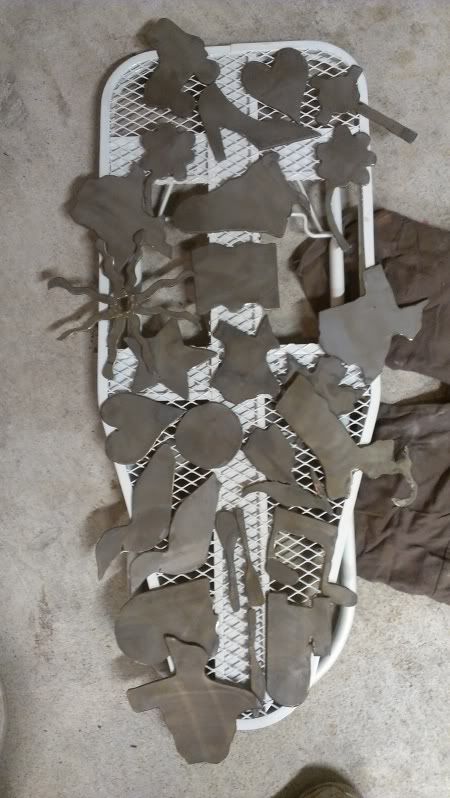
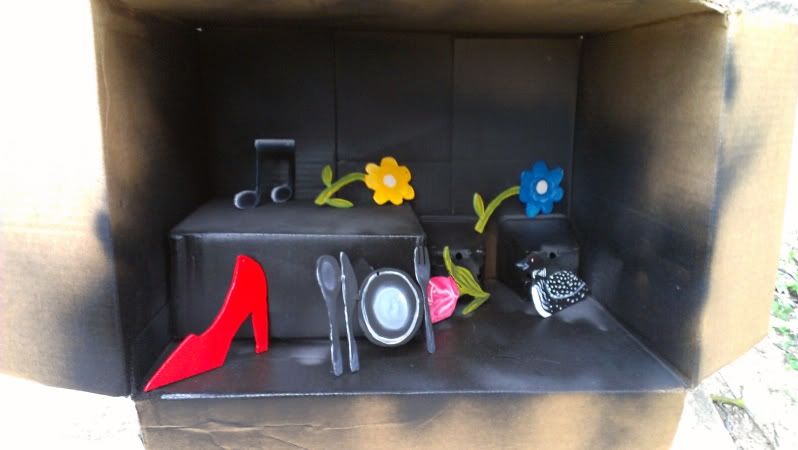
Next, we cut out all the wind catching dingly parts, customized for each recipient. Sibyl turned out to be a great hand with the plasma cutter free-handing the shapes. Afterwards, I cleaned them up with the grinder. Here is most of them just after their acid bath:
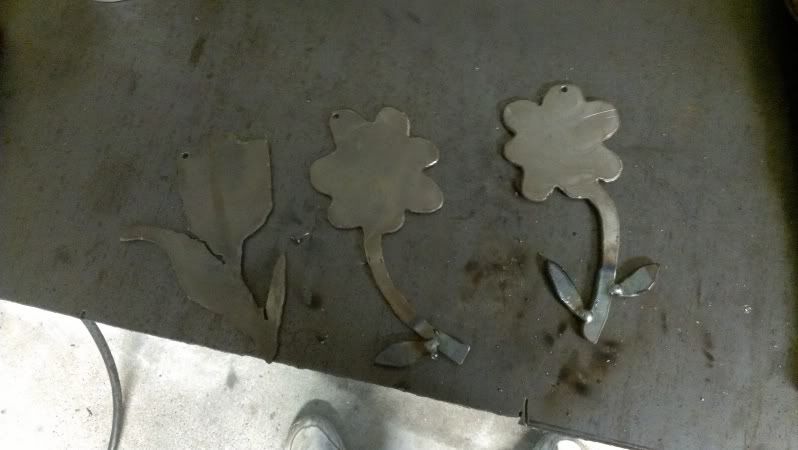
Some required a little further assembly:
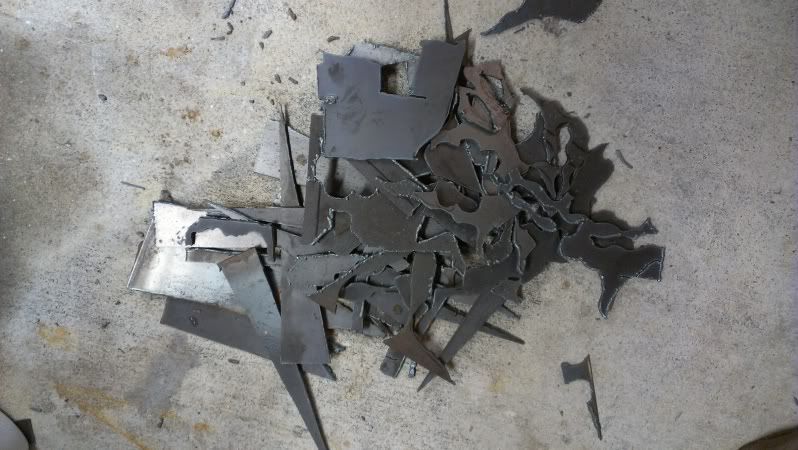
I think we did a pretty good job of minimizing waste, overall. But we still ended up with an amusing pile of scrap:
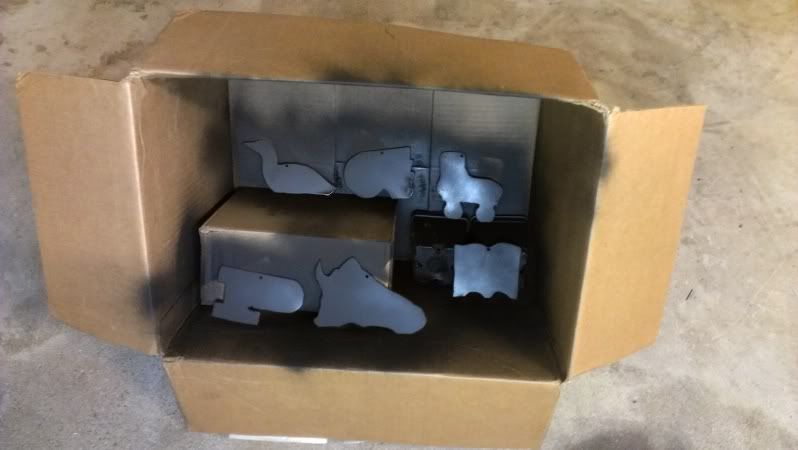
Some of the dingly bits we left in raw steel, but some didn't look super awesome that way, so we decided to paint them. That process was done with all enamel paints, to help avoid paint-incompatibility problems. The first step after the acid etch was to spray the shapes flat black:
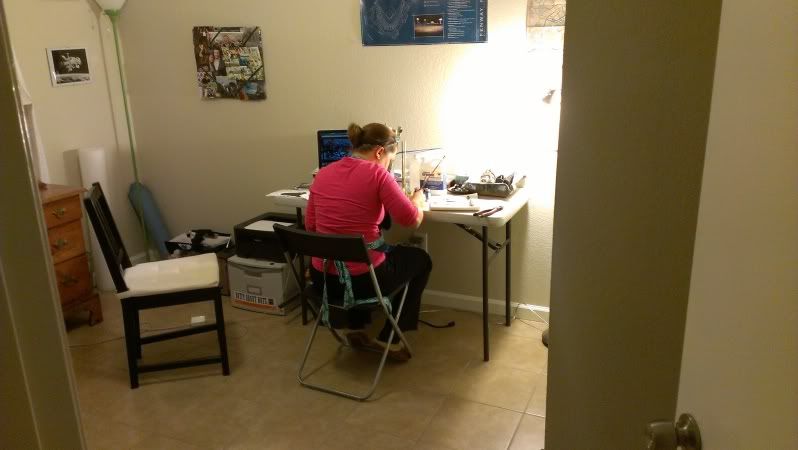
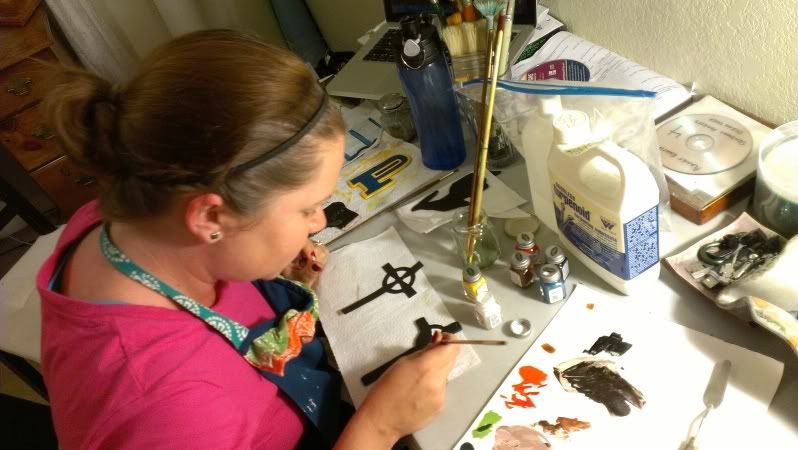
then Sibyl hand-painted the colors:
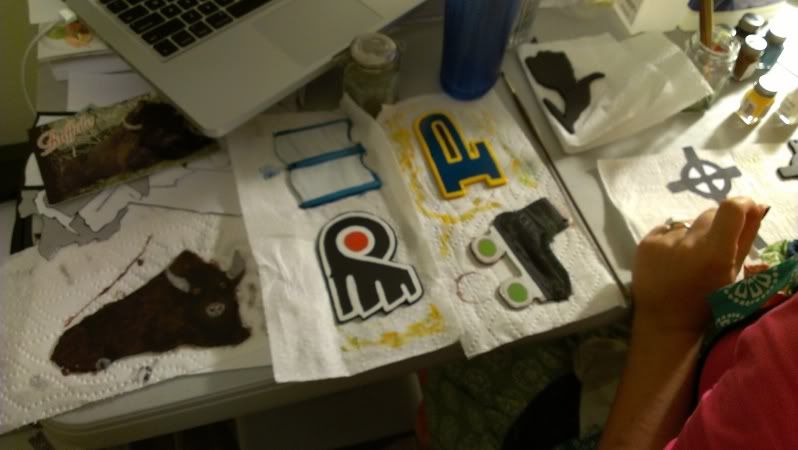
And finally, after painting both sides and letting them dry, we sprayed them with a clear coat to help protect the paint from the sun and weather:
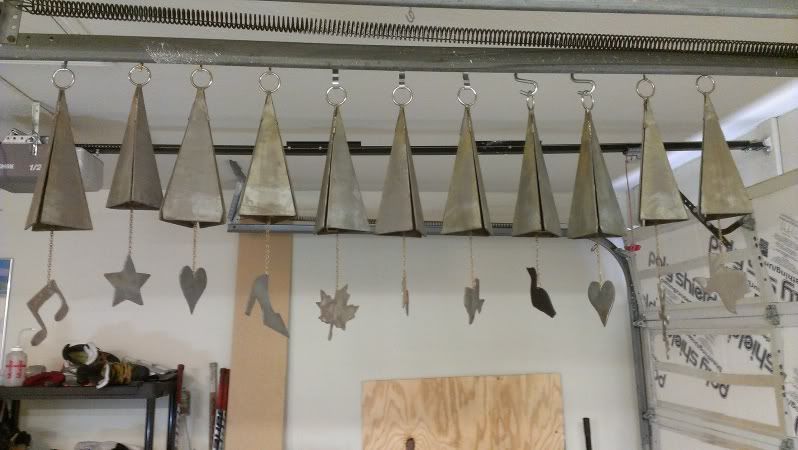
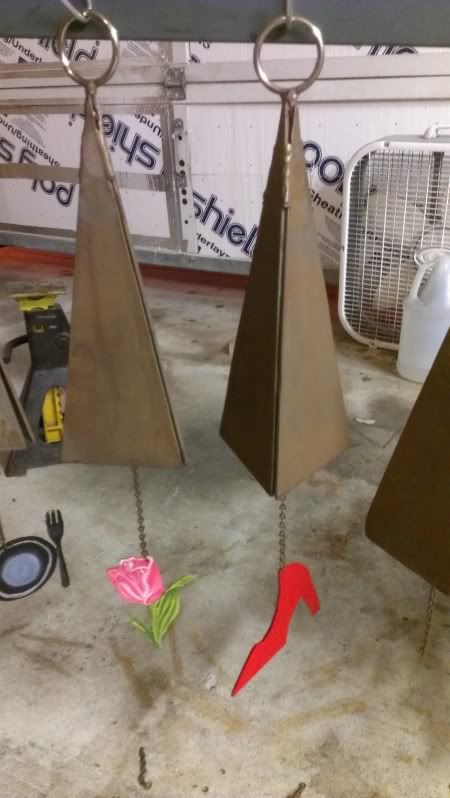
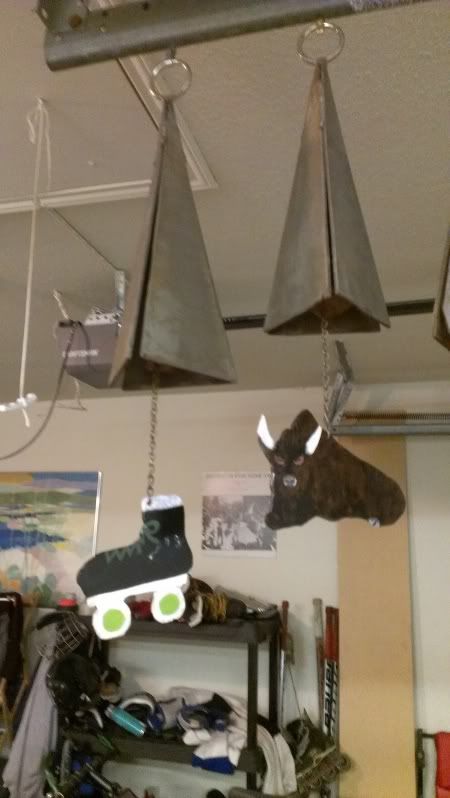
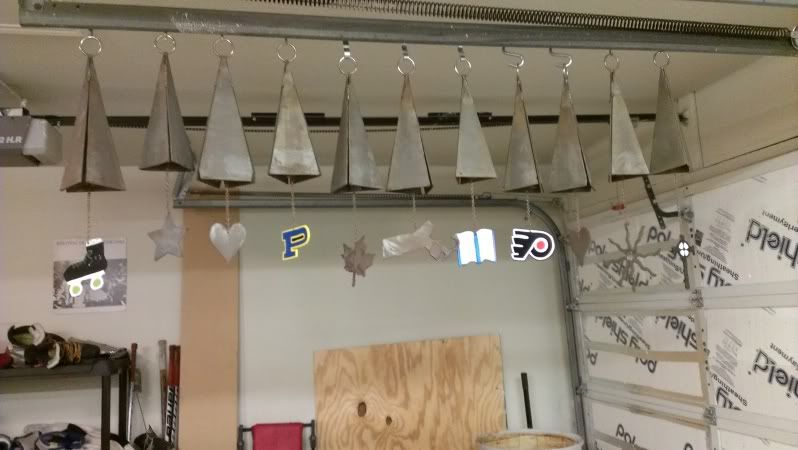
The last step was to assemble them all. Here are a bunch of pictures of the more or less complete bells:
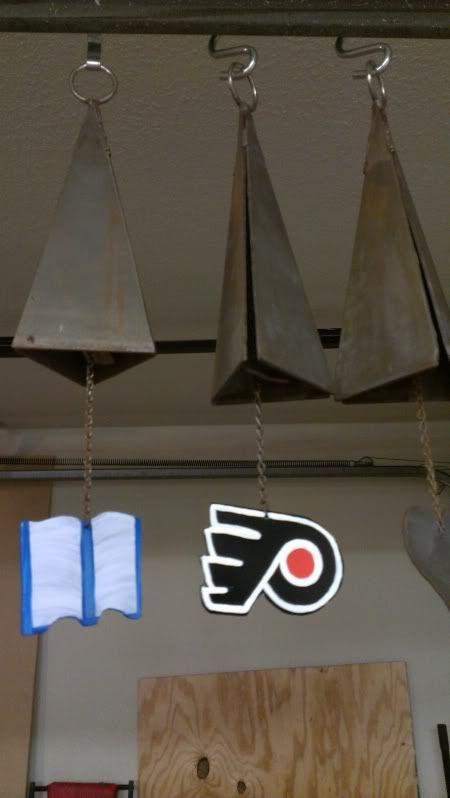
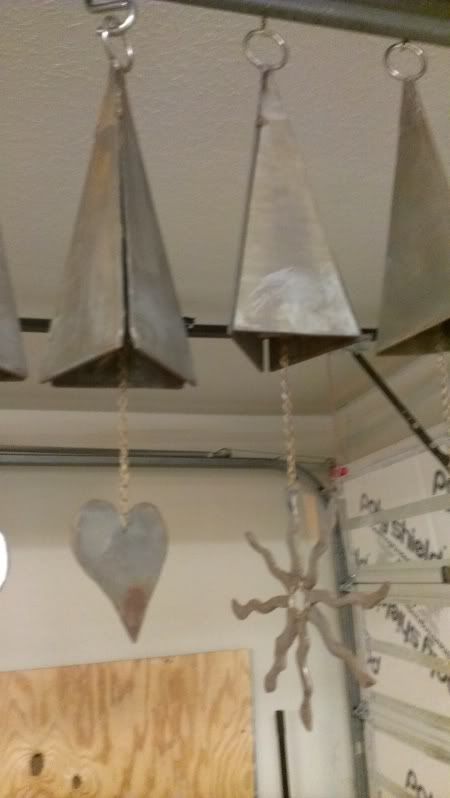
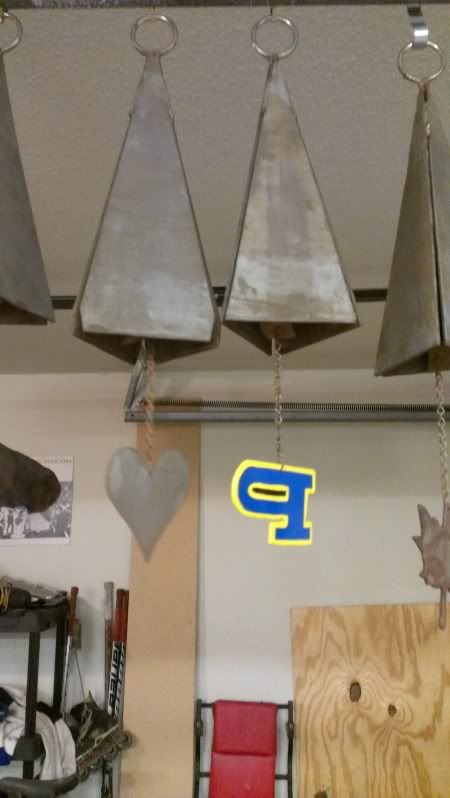
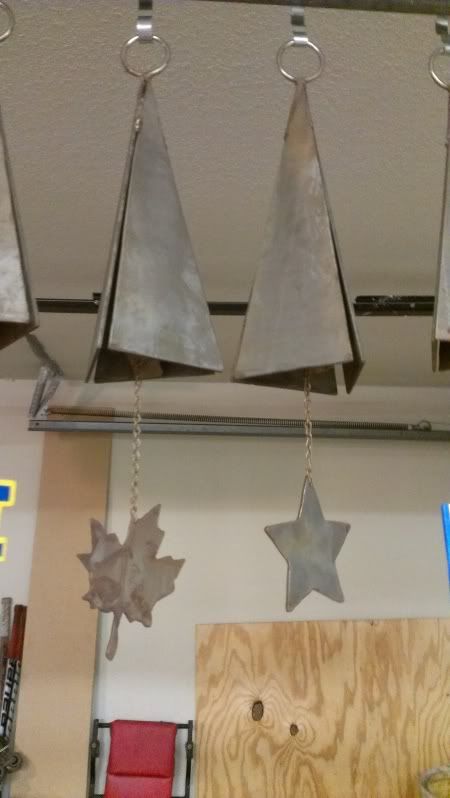
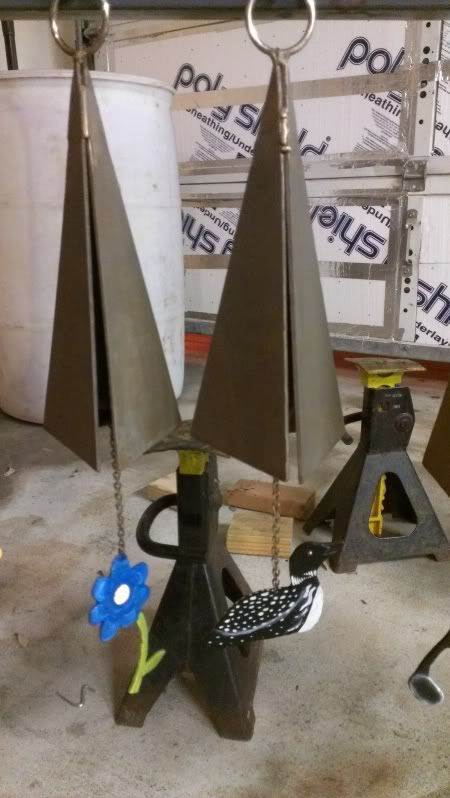
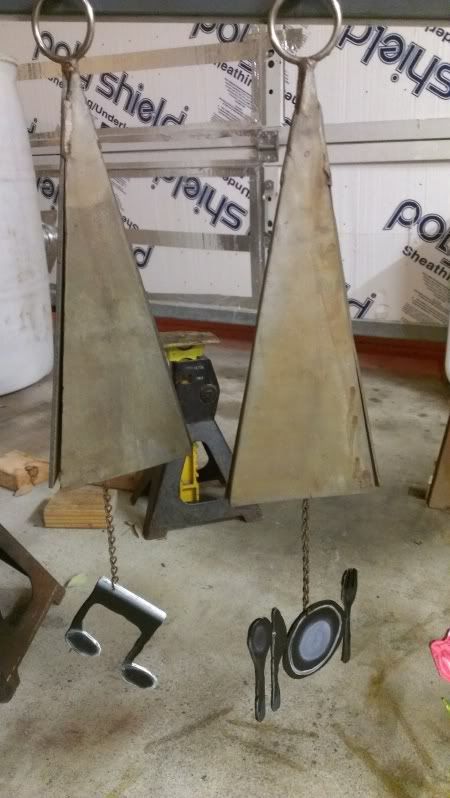
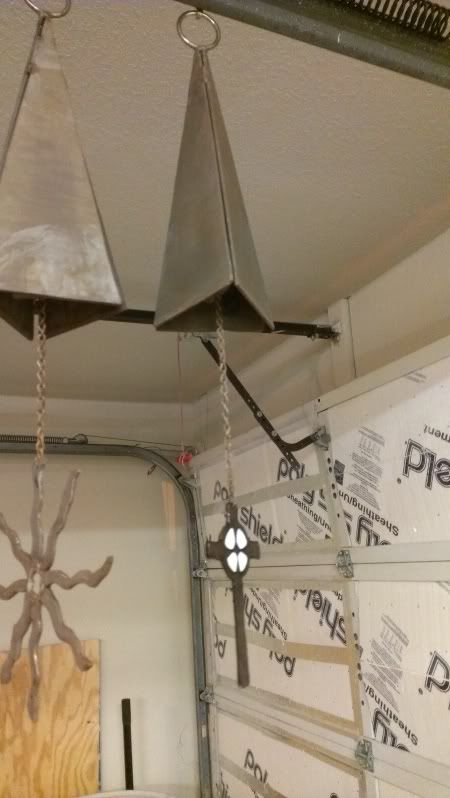
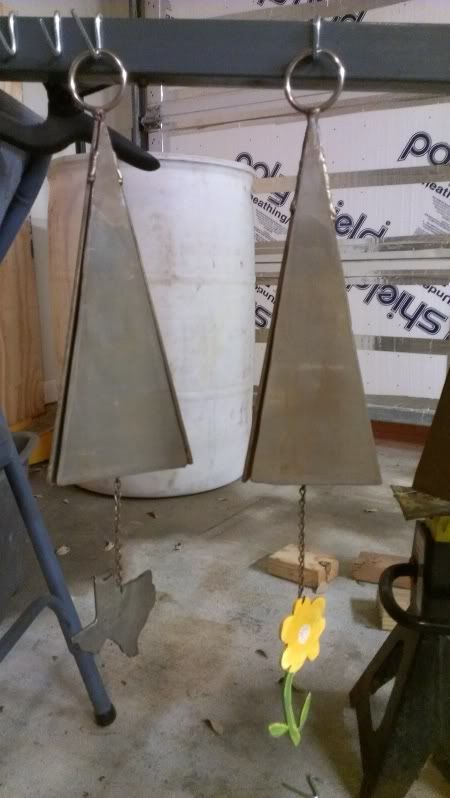
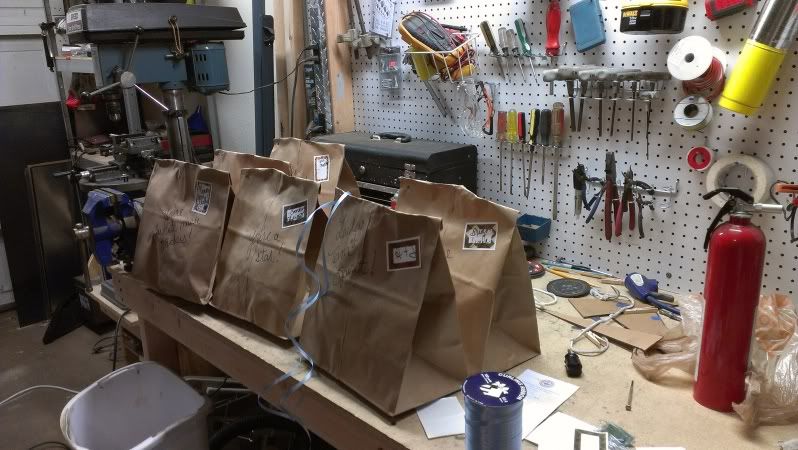
Here they are all wrapped up and ready to go:
and here's a video that shows you what they sound like:
Bell Video
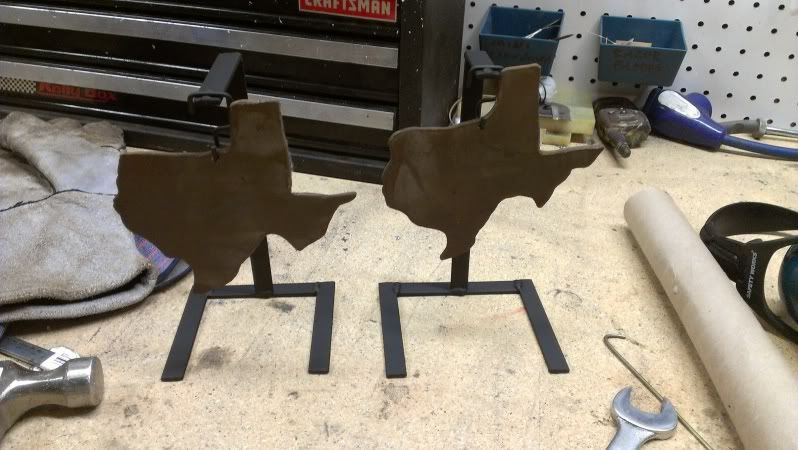
Also, since both of our remaining grandparents live in assisted living facilities and don't really have a good place for these, we made them smaller steel texas thingies (yes, they are backwards in this photo, give me a break I only moved here in september :P ):
So anyway, it was a super fun project. I did most of the straight line cutting, welding, and assembly, as well as the black and clear spray. Sibyl did most of the freehand cutting, and all of the hand paining. The original idea was mine, and Sibyl came up with all of the dingly shapes. It was a total team effort, and we had a great time working on it. And I only left the welding gas on overnight and drained the tank once! (it's shielding gas, so no explosion danger, but it does cost like $18 to get the tank refilled :| ) Merry Christmas and Happy Holidays everybody!
No comments:
Post a Comment