Monday, February 13, 2012

ROV step 1: the wrong tool for the job?

A while ago my cousin, dad, and I decided we wanted to look around underwater at some favorite fishing spots. Clearly the most fun way to do this is to build a small remotely operated underwater vehicle (ROV). After kicking ideas around for a while, we decided that the first step would be to build a watertight enclosure for a camera and a bit of electronics, and stick it on the end of a long pole under water. This will allow us to test our enclosure for watertightness (at least to 15 or 20 feet of depth), and to work on the vision system.

To that end, I bought a few bits of PVC and all-thread from the hardware store, and ordered a piece of 1/2" clear acrylic.

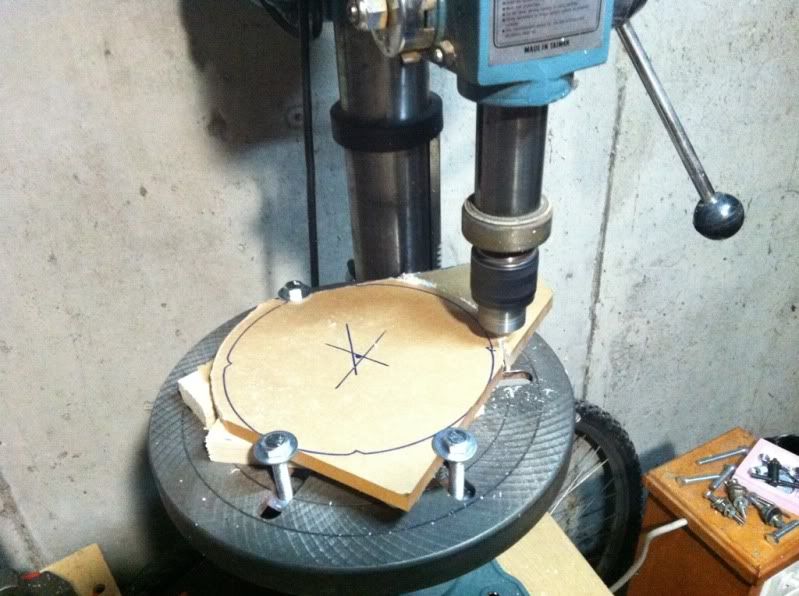
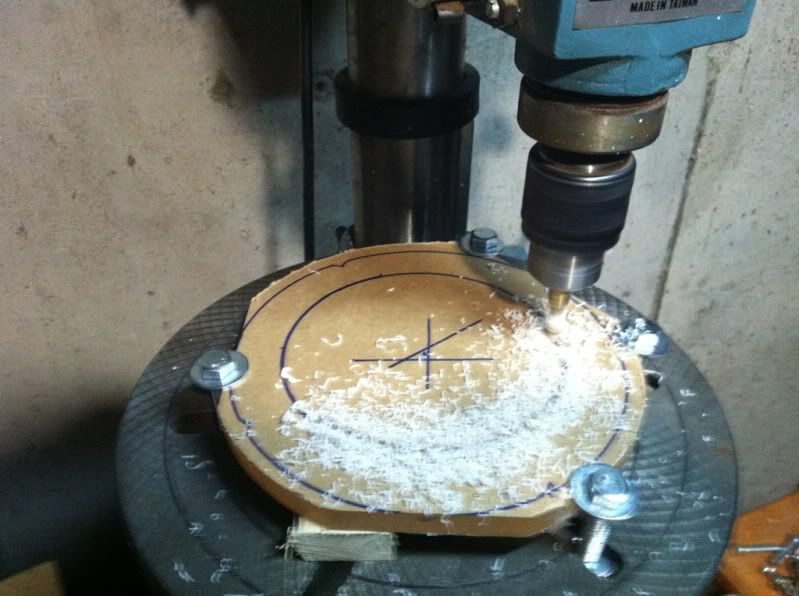
I'm a big fan of using the right tool for the job, but sometimes you don't have it, and the job still needs to get done. In order to get things mounted up correctly, I wanted to mill out a few of the PVC pieces and the acrylic sheet. I don't have access to a milling machine, but if your tolerances are fairly loose, and your materials fairly soft, you can get by with a little creative use of a drill press and some end mills. Note: this is also bad for your drill press's bearings. They don't like side-loads.

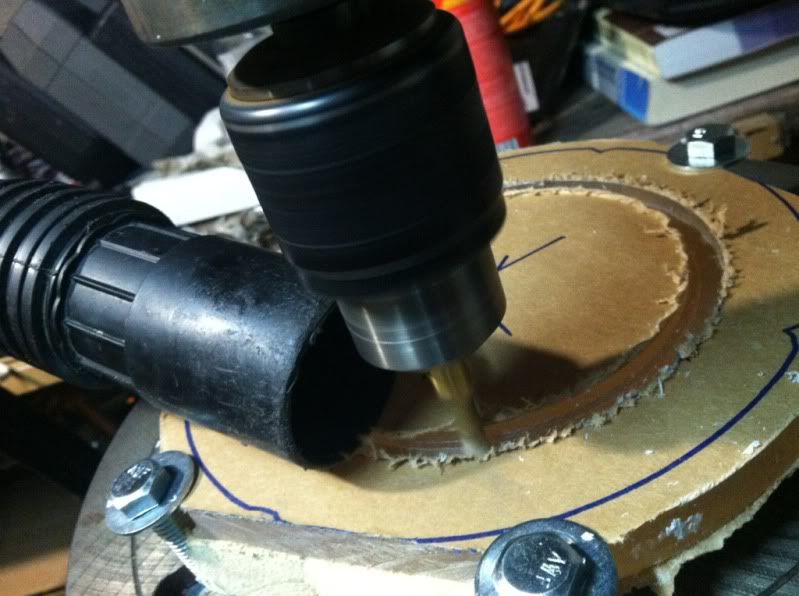
Here I am milling the acrylic to shape, and cutting a groove for an o-ring to seal it (the acrylic sheet is an odd "circle with pieces missing" shape because I wanted to get 2 approximately 7" circles out of one 12" square piece of acrylic, in case I screw one up):


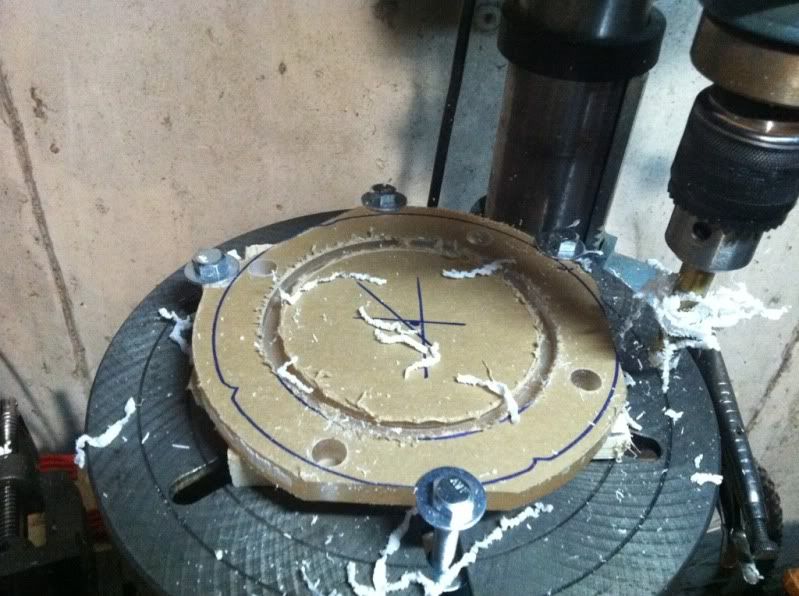
and here I'm drilling the holes for the all-thread:


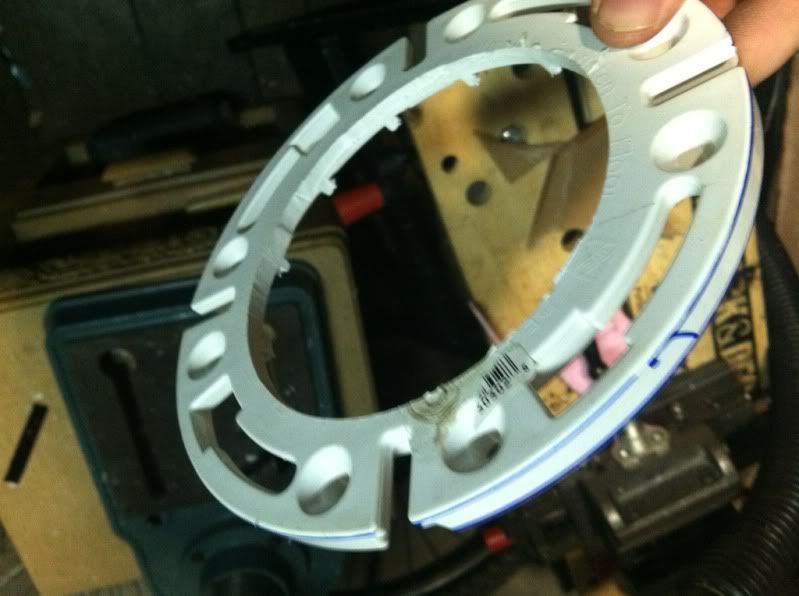
Here is a toilet drain fitting I cut the middle out of to make a support ring for the other end of the all-thread:

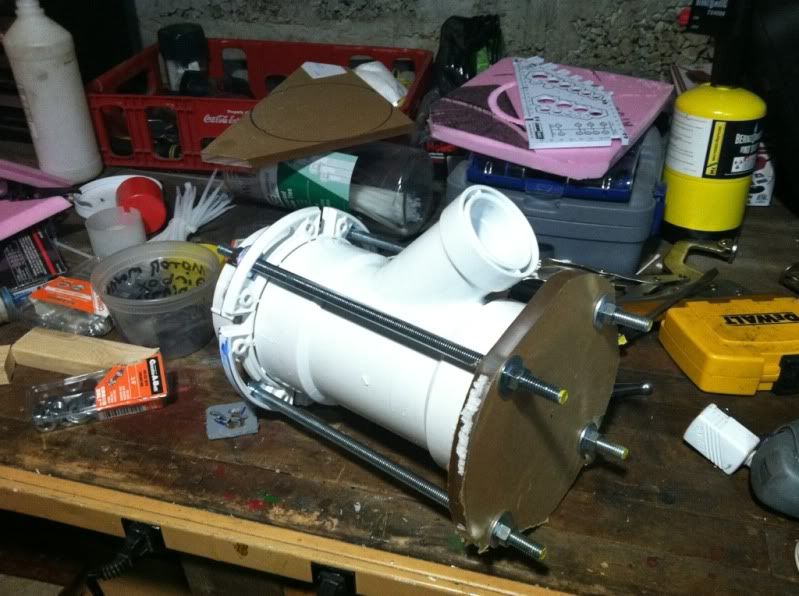
and here are a couple shots of what the enclosure looks like at this point. The back is threaded, but I may end up gluing it shut if the threads are too leaky. The 3rd opening (on the top) is for the tether, I have to think a bit about how I want to proceed on that. (also, the whole thing is put together backwards in these pictures, when it's glued up the tether port will point towards the back instead of the front). You can also see the extra piece of acrylic and some foam with test-cuts in it in the background. I find insulation foam to be a good material to practice and test milling ideas on, because it cuts fast, doesn't put much wear on my end mills, and doesn't put heavy side-loads on the drill press.
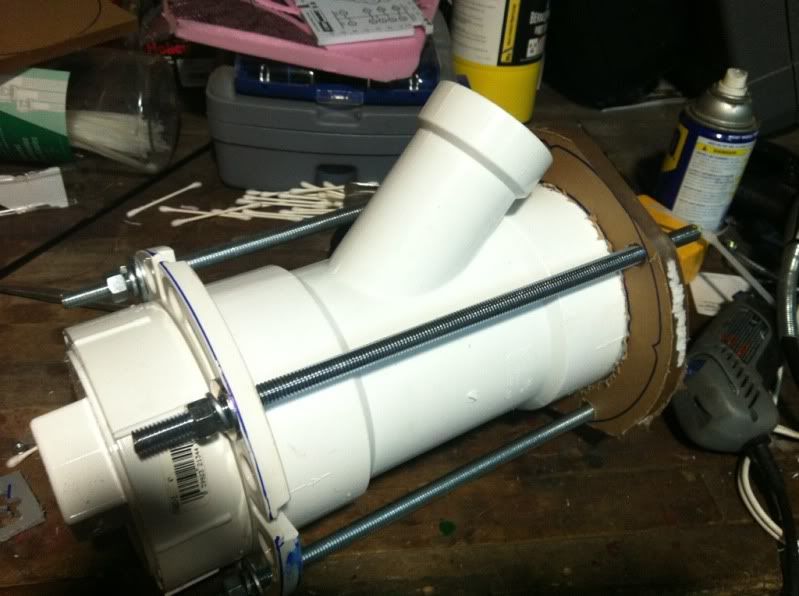
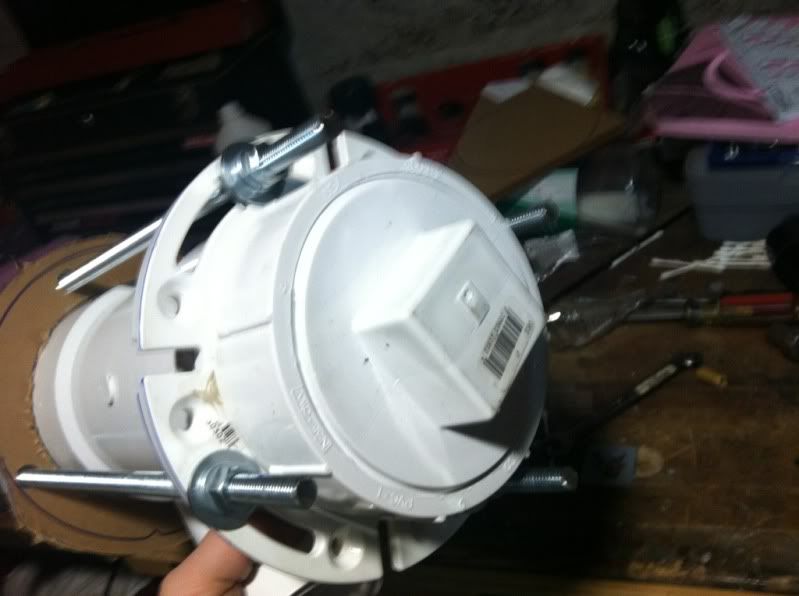
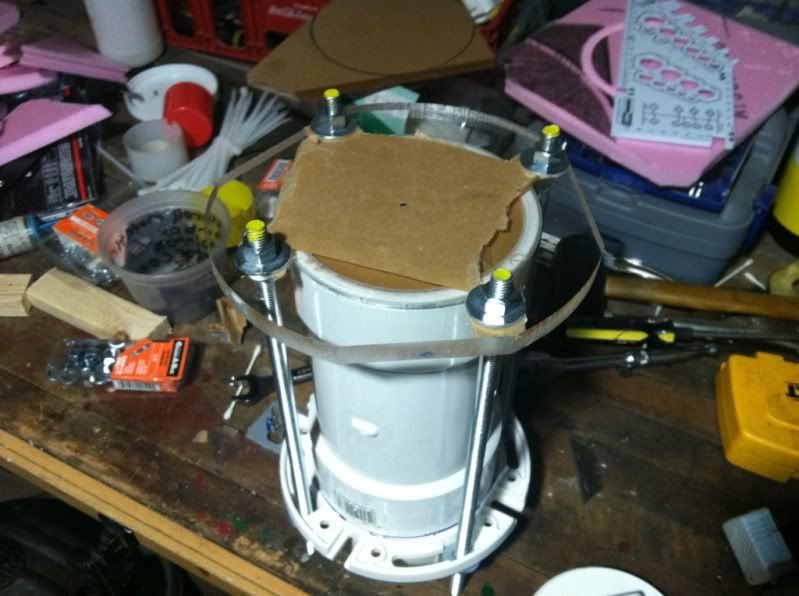


and here's a closeup of the groove for the big o-ring:
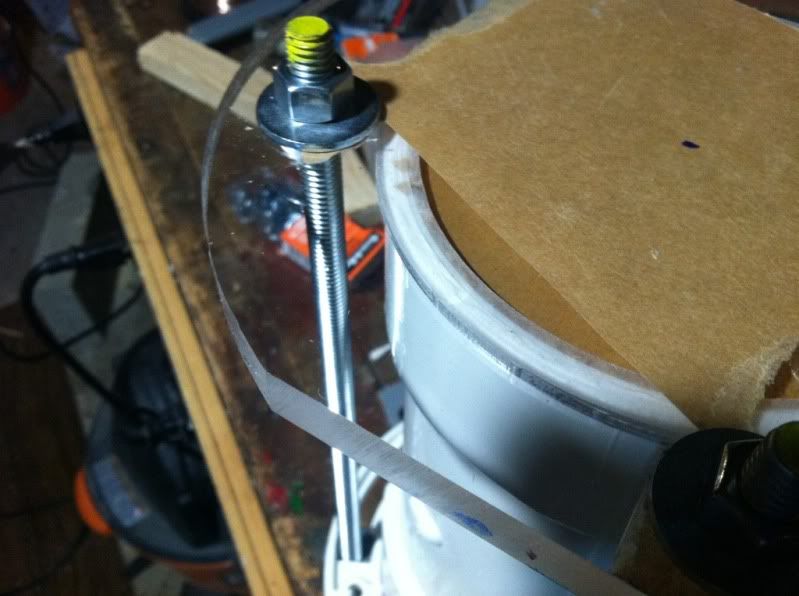


The next steps are to put the camera in there, figure out how to seal up the tether entry, and do some depth testing!

Monday, January 23, 2012

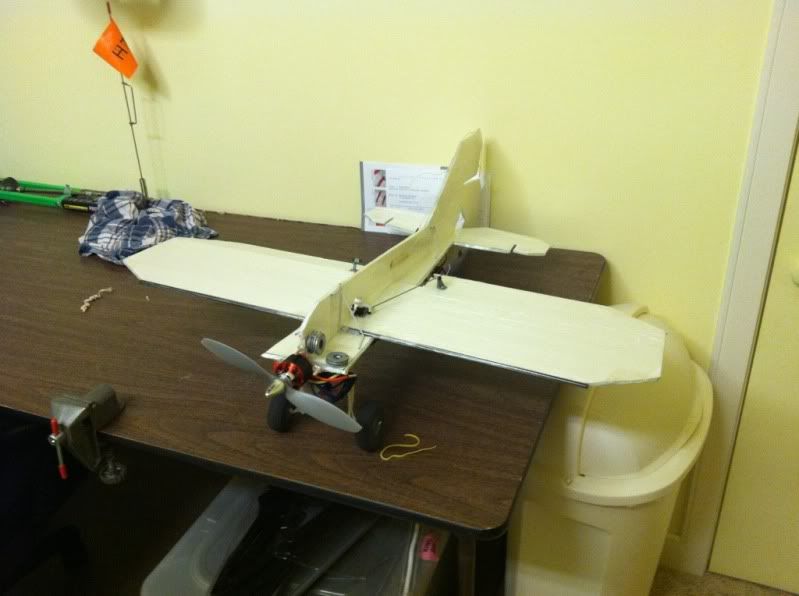
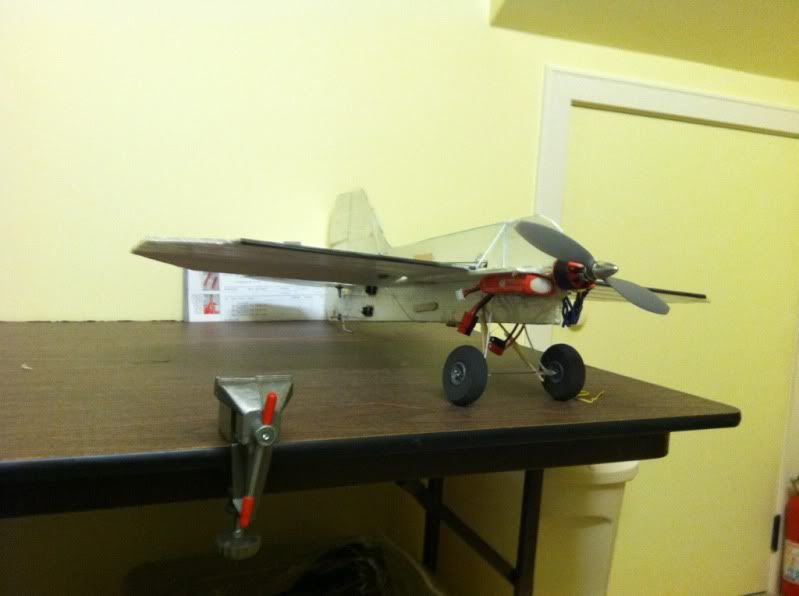
Home-built RC plane

Well, I saw this guy build an RC plane from foam board and off the shelf parts:
http://www.youtube.com/watch?v=wC6-ljrSpgA

so i figured I shoudl probably give it a shot. it's all together, but I haven't had a good day to try to get it into the air yet. I have a couple different motor, battery, and prop combinations to test out as well...

http://s102.photobucket.com/albums/m112/shinymax/?action=view¤t=cab40b43.mp4

UPDATE: well, it flies! And pretty well too. Some center-of-gravity tweaking still to do, but 5 flights, 3 crashes, and a lot of easy Popsicle-stick-and-hot-glue repairs later, I'm quite pleased with the performance. Have to get some in-flight video now.


Tuesday, September 20, 2011

Most gratuitous use of an Arduino

So, a while ago, i built a circuit to shut off our aquarium water filter when the bucket gets full (http://mhkaufman.blogspot.com/2010/01/rodi-auto-shutoff.html). About a month ago, my room mate managed to break it. So rather than going through the "hassle" of rebuilding it, I decided to take the easy way out and replace the whole thing with an arduino. All it does it does is open a solenoid valve and start power flowing to one pin. When it sees current in the other pin (which happens when both pins hit the surface of the water), it shuts the solenoid valve and stops power to the first pin. The only even slight improvement over the original non-arduino version is that once this version shuts off, it doesn't pass any more current through the water, which is nice because it limits the electricity-aided dissolution of metals from the probes into the water, which can be bad for the fish. It even looks exactly the same, a black box with a button and one blinking LED on it.